
Ever since we bought this house, just about two years ago, we have been planning on redoing the kitchen. The problem is the kitchen has a lot of issues and tackling them all at once seemed like too daunting of a task. We also didn't want to end up with a half torn up kitchen for extended periods of time. So we decided to break the kitchen remodel down into phases, each of which could be done fairly quickly and look decent in-between phases.
Phase One: replace the boob light fixtures, paint the cabinets white, attach pulls and knobs to the cabinets and paint the kitchen grey.
Phase Two: get the extra pass through window in the kitchen dry walled over, tile the floor with black and white hex tiles, install free standing pantry, get a new stove and replace exhaust hood with venting microwave.
Phase Three: get grey quartz countertops and stainless steal undermount sink installed and tile backsplash with white subway tiles.
As of today we have completed all of phase one and part of phase two.
As a reminder, here are some pictures of the before. As usual I didn't take good before pictures so most of these are from when we first looked at the house before we bought it.

The cabinets were the basic light oak cabinets, though I don't think they were original to the house since the house was built in 1955. They must have been put in in the early 90s or late 80s. They were in pretty horrible shape since there were no handles so you had to grab the edge of the cabinet with wet hands to open them. Naturally there was some pretty bad water damage, especially under the sink.

These two lights were the last of the boob shaped lights in the house.

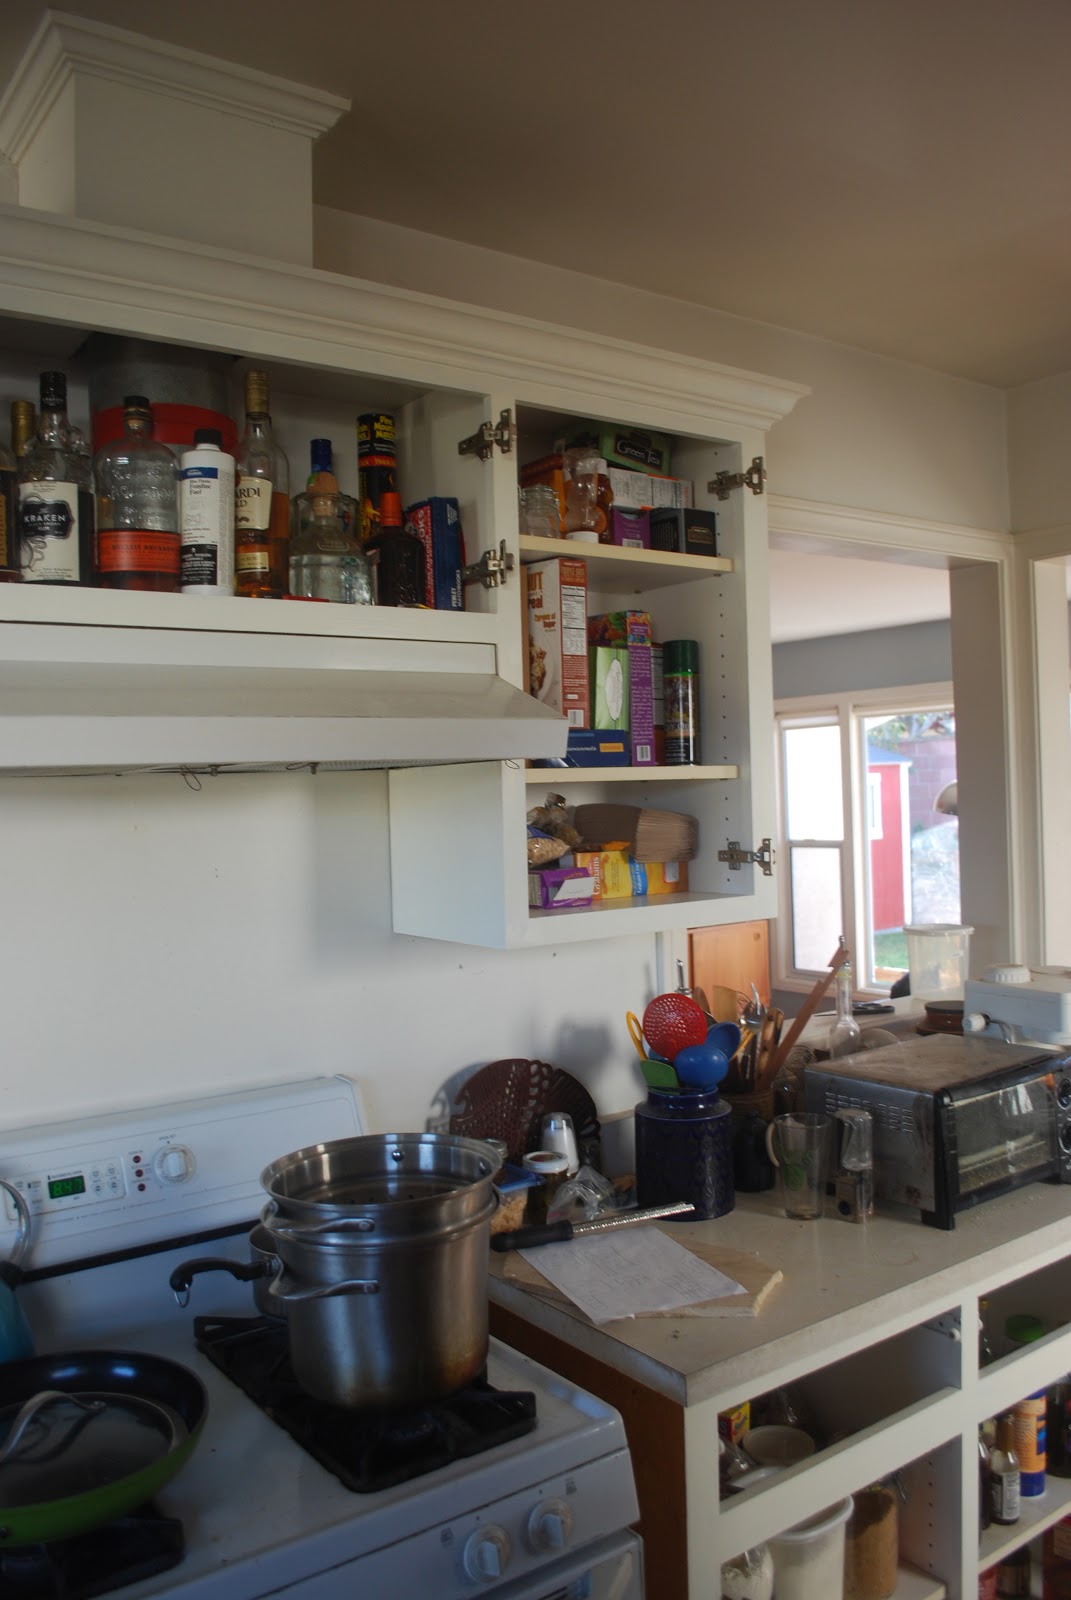
At some point in our house's past, someone opened up these three windows in the kitchen. They don't really serve any function, except that that do make the originally very closed off galley kitchen much lighter and brighter and open to the living room. It is hard to see in this picture, but the third window is directly to the right of you as you walk in the front door. We couldn't really figure out what the point of this window was since it just allowed any visitors to look directly into our messy kitchen as soon as they walked into the house. There is also a corner of the kitchen, next to that window, that doesn't have any cabinets and is just unused space. Our kitchen also doesn't have any pantry space and we really wanted to use this space for a pantry, however with the window, you can't fit a tall cupboard.
We bought a paint sprayer off craigslist, after we found out that renting a paint sprayer from home depot for one day costs almost as much as buying a used one. We took off all the cabinet doors and drawer faces, sanded them and sprayed them with the paint sprayer. Then we painted the remaining cabinet boxes by hand. Here are some lovely pictures of our kitchen torn apart during the process.

Also from craigslist we got this wardrobe which will be our future pantry. It originally was an entertainment center and was dark blue. So we had to reconfigure the inside and install shelves. Nate sprayed it white at the same time he sprayed the cabinet doors.

Here are some after pictures. I got four of these vintage school house lights on eBay. Two went in the kitchen and one went in the front hall way. I'm not sure what we are going to do with the fourth, but I'm sure it will find a place at some point.


Lastly, we got the window in the corner of the kitchen drywalled up. That was the best part because we hired someone to do it. It is amazing how fast professionals work. Saving money by doing stuff yourself is very satisfying, but saving your sanity by hiring someone to do the complicated things is worth every penny. Once we tile the floor, as part of phase two, we can put the cabinet that is taking up too much room in the garage here, and we will have so much more storage space in the kitchen.
