
Last Sunday we started tiling the backsplash with subway tile. Since we are using a premixed tub of mastic to attach the tiles to the wall we don't have to do it all in one sitting. This makes tiling much more enjoyable when you know you can just stop whenever you feel like it.

First we laid down paper over the new counter to keep it clean and then we sanded the wall. Supposedly the tiles have a hard time sticking to painted drywall but roughing up the surface helps. The subway tiles we bought are self spacing but we used tile spacers to lift the first row up off the counter. This line will get filled with caulk instead of grout.

We have a tile scorer and snapper, but we discovered that it made pretty ugly cuts in the subway tile. We did use a coping saw to cut the tiles to go around the outlets, but the outlet covers will hide those cuts so it doesn't matter what they look like. We are going to finish all the tiling that doesn't require any cuts that will show and then either borrow or rent a wet saw to cut the remaining tiles. We also had to buy longer screws for the outlet boxes so the plugs can sit over the top of the tile.
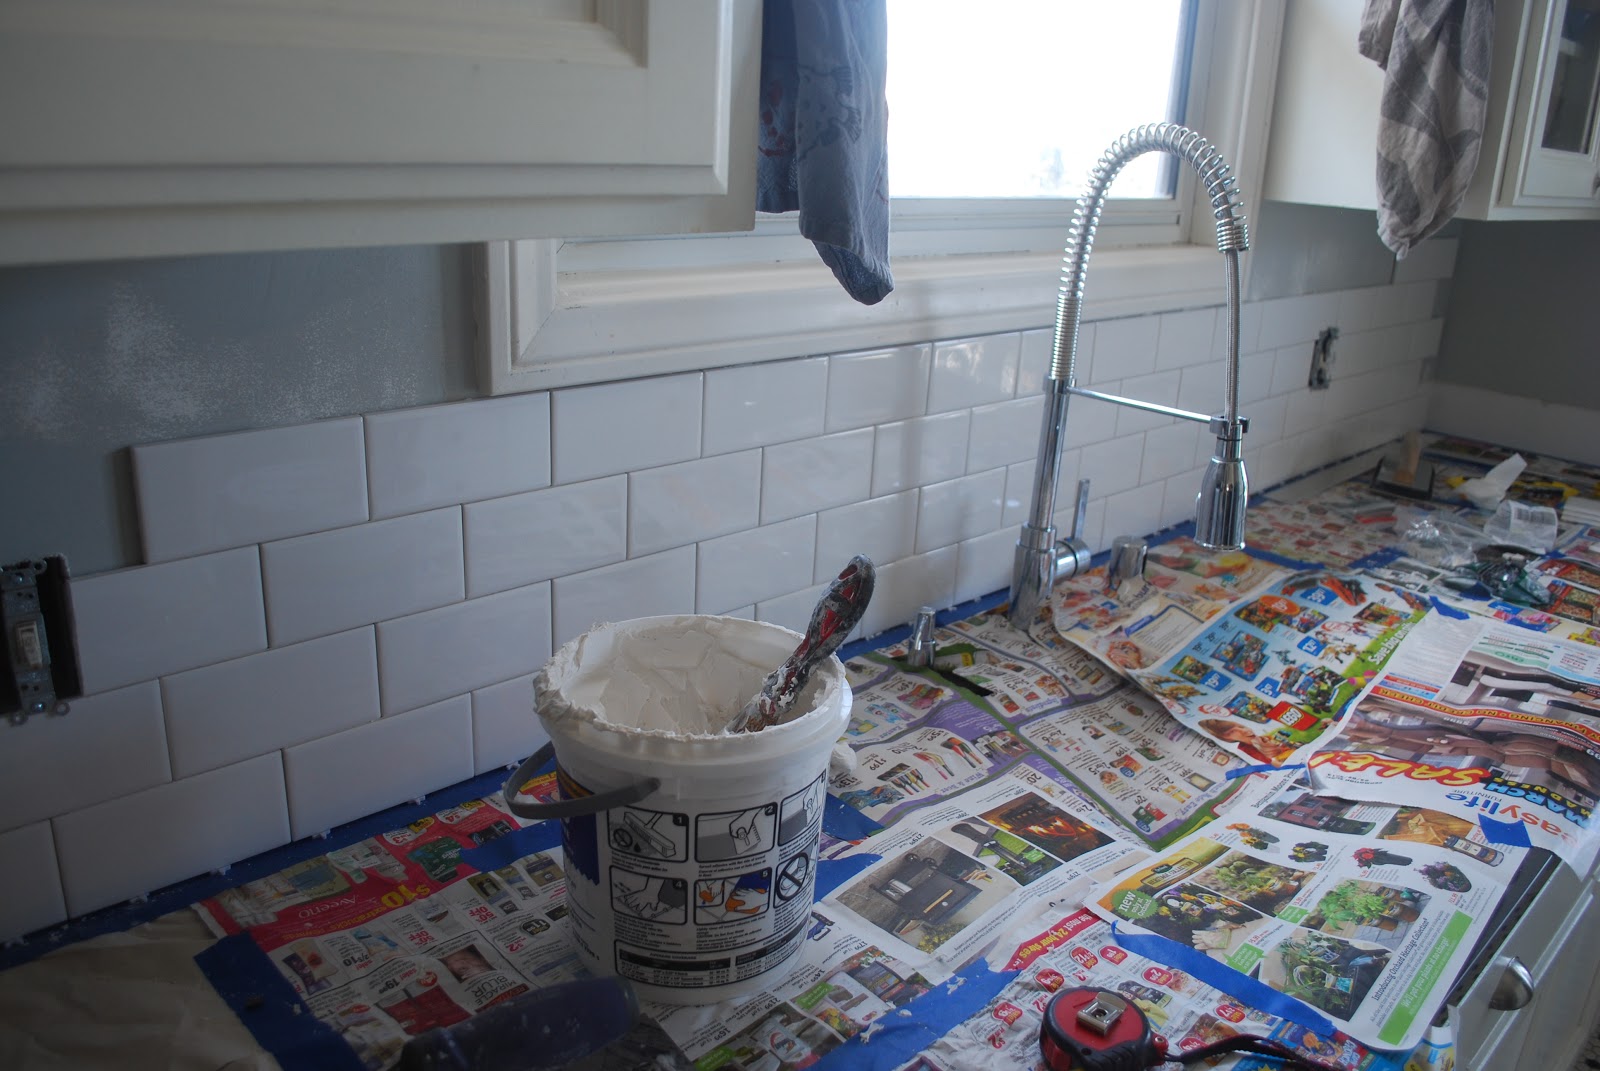
It only took a couple of hours to do all of (except the tiles we still need to cut) the backsplash on the wall behind the sink.

I was hoping to be able to do the tiling on the wall behind the stove some evening this week, but I managed to cut my finger really badly chopping onions on Sunday night. I had to go to the emergency room and everything. In the interest of keeping my wound clean and dry I think I'll need to wait a while before doing any more tiling.