Thursday, June 7, 2012

Hexagonal


After a long period of fear and procrastination, we finally tiled our bathroom floor.  As you may remember, when we bought the house, the bathroom had decent looking grey and white tile in the tub surround, counter and backsplash, but the floor was just sheet vinyl (as shown below).  It actually wasn't too ugly for sheet vinyl and vaguely resembled white tiles with grey grout.  But, it still needed to go.  


I have always loved hex tiles, especially on bathroom floors.  I know they aren't that practical, since there is an awful lot of grout to get stained or cracked.  But we figured that with dark grey grout, stains shouldn't show up nearly as easily as with white grout.  

The whole process ended up being pretty involved and taking two weekends.  First we took off the base boards, ripped up the vinyl and took off the toilet.  In a house with only one bathroom, having to take off the toilet is a pretty major deal.  Underneath the vinyl was just plywood subfloor which apparently is too flexible for tile.  So we cut and thin-setted down cement backer board.  After that was dry and we could walk on it we put the toilet back on.  The tile we ordered from Lowe's still hadn't come in yet and we weren't going to go all week without a toilet.  

Once the tile finally came in we took the toilet off again and started dry fitting and cutting the tile. Cutting 1" hex tile on a mesh backing is not an easy thing to do.  We tried cutting it with a wet saw borrowed from a friend at first, but the water disintegrated the glue on the mesh backing and all the tiles started falling off.  We ended getting this kind of paper-cutter-like thing that we used to hand score the tiles and then crack them.  Not super accurate on 1" tiles, but it worked well enough for us. 


After dry fitting all the tiles and numbering each sheet, we layer them down with thin-set.  


Here they are all thin-stetted down. 


The next day was grouting, then buffing, putting the toilet back on, and more buffing. 


All in all I think it turned out pretty ok for our first ever tiling experience.  Definitely not perfect, but good enough to live with. 


We still need to put the baseboards back on.  That should hide some of the roughness around the edges.   


I think it made us more confident in the possibility of tiling the kitchen floor and backsplash at some point and I think it saved us a good chunk of change. 


Wednesday, May 23, 2012

Schoolhouse Light

The other day I was pointing out to Nate, how much I liked this Hawkins light fixture from Rejuvenation House Parts in their catalogue.  Our house still has mostly brass hardware, except in the bathroom and kitchen.  And even though it seems like brass hardware is making a comeback I think we will slowly try to fade it out of our house.  We really want to replace the light fixtures in the kitchen, the front entry and the back hallway, but we want the metal on any new fixtures to match the door handles and whatnot near it both now and in the future.  When I saw these white porcelain  fixtures I thought they would be the perfect solution.  They wouldn't be metal so they wouldn't need to match any other metal.  The only problem, with the shade, each fixture is $195.  More than I want to spend on something we need four of.

Z020161

Then we went to the Habitat for Humanity ReStore looking for tile because we are finally going to tile the bathroom floor (hopefully that will be another post soon).  They did not have the white hex tile we were looking for, but they did have this lovely vintage schoolhouse light.


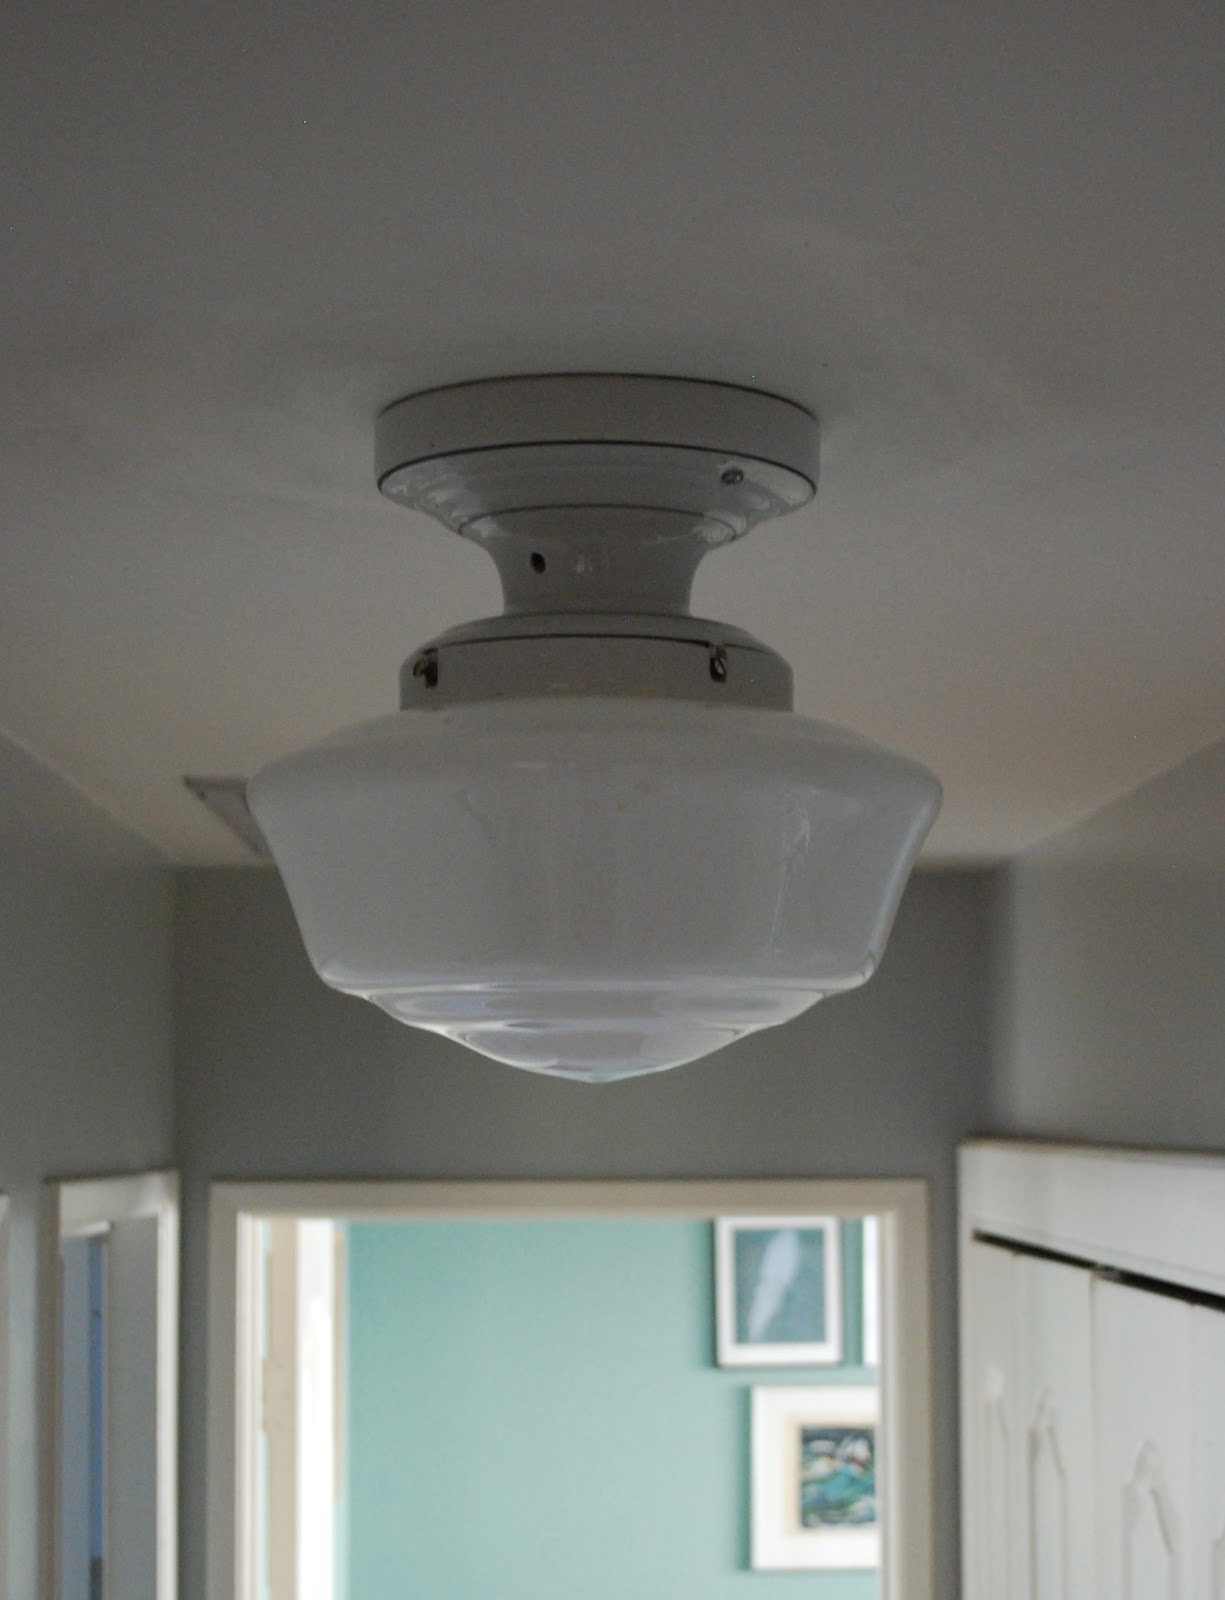
It is kind of amazing how similar it is.  And it was only $20.  Sadly they only had one of them.  If they had two of them we would have used them in the kitchen,  But since there was only one and it hung down a little too low to use in the entry way, it ended up in the back hallway.  This was the old light fixture.  Possibly the ugliest shiny brass nipple light ever.


Here is what the hallway looked like before.  This was before painting the hallway grey and when we only had curtains on the washing machine closet.  


With just a little paint, magically finding the closet doors in the garage rafters and a new light fixture it looks so much better. 


I think we are going to need to stop by the ReStore more often to see if we can score some more vintage schoolhouse lights and to donate that old brass monstrosity.


Friday, May 11, 2012

In the Garden May 2012


Just wanted to post another garden update.  We built one more planter box.  This one is an an odd space that looks like it wouldn't get much sun since it is wedged in-between the barn and the wall of the back planter box.  But this is the south side of the barn, so it actually ends up getting sun pretty much all day.  I wanted to try growing a three sisters garden which is a companion planting of corn, beans and squash common in Iroquois gardens.  The corn acts as a support for the beans, the beans fix nitrogen in the soil and the squash covers the soil to prevent weeds and hold in moisture.  The corn is Stowell's evergreen sweet corn.  I planted it in about mid April.  I planted the beans a couple of weeks later.  When I read up on three sisters gardens, it said to wait until your corn is 6" tall before planting the beans or else the beans will outgrow the corn.  I think mine was almost that tall, but some of the beans are already taller than the corn next to them.  The beans are rattlesnake snap beans.  I bought both the corn and bean seeds savers exchange. The squash was just butternut squash seeds that I saved from one from the CSA and some transplanted mystery squash that has been sprouting all over the garden, probably from the compost bin. 


I finally pulled out the end of the fava beans from main raised vegetable garden.  I love fava beans, but they just took up way too much room.  They kept flowering and producing more fava beans so it was really hard to just give up on them and pull them out.  I wanted to get tomatoes and tomatillos in the ground though, so I finally just composted them.  If I plant them again next year I think I will put them in the new narrow planter box so they will be confined to a smaller space and won't flop over on other things.  Before I pulled out the favas some of my tomatillo plants that I started from seed were just getting too big for their tiny pots.  I gave up and just planted two in big pots.  They are blooming now and have such pretty blossoms. Supposedly they aren't self fertile so I put the pots right next to each other so the bees have an easy time going from one flower to the next. 


 The blueberries on my tiny blueberry bush are starting to get ripe.


The first strawberry is just about ready to pick.  I have to make sure I get to it before the slugs or squirrels.


The plums are getting bigger.


Lots of flowers in the herb garden.

Wednesday, May 9, 2012

Mini Saint Berweiler Poo

Keita had her first birthday back in April.  Sadly we kind of forgot about it, so I think we are going to be celebrating her adoption day instead of her actual (as estimated by the vet) birthday.  I did get one birthday present from Nate which was kind of a birthday present for Keita, a dog DNA test.  

When we adopted Keita the rescue group told us that they thought she was a labradoodle.  When she and her litter mates were being dropped off at the pound someone from the rescue group happened to be there to pick up another dog at the same time and ended picking them up too.  I guess the owner of her mother who was dropping off the litter said that she thought they were labradoodles.  When she was a puppy it was kind of believable, but as she got older we became pretty positive there was neither any lab or any doodle in her.  She definitely looks like some kind of terrier mix and that is what just about everyone who saw her guessed she was.  


Yesterday we got the DNA test back.  Here are the results:


Even though she doesn't have poodle-like fur and hates the water, she is actually 50% miniature poodle.  That wasn't all that shocking.  She is small and, like a lot of poodle mixes, has a very cute beard.  What is shocking is that she is also 25% saint bernard.  In a million years I would never have guessed saint bernard.  She is also apparently 11.5% rottweiler, 2% sussex spaniel and less than one percent akita, black russian terrier and lhasa apso.  I have dubbed her the new fancy designer breed mini saint berweiler poo.

Nate sent the rescue group the results so they could forward it on to the people who adopted her litter mates.  A couple of them sent back pictures of their mini saint berweiler poos.

Keita's brother Sam with his new owners.


And her sister Sadie.


It is amazing how much they look like her.  I'm not completely convinced about the test results.  But I'm  kind of tickled to thing that our little 22 lb. puppy is really part saint bernard and rottweiler.  I'm glad she didn't end up being 180 lbs.

Monday, April 30, 2012

Master Bedroom

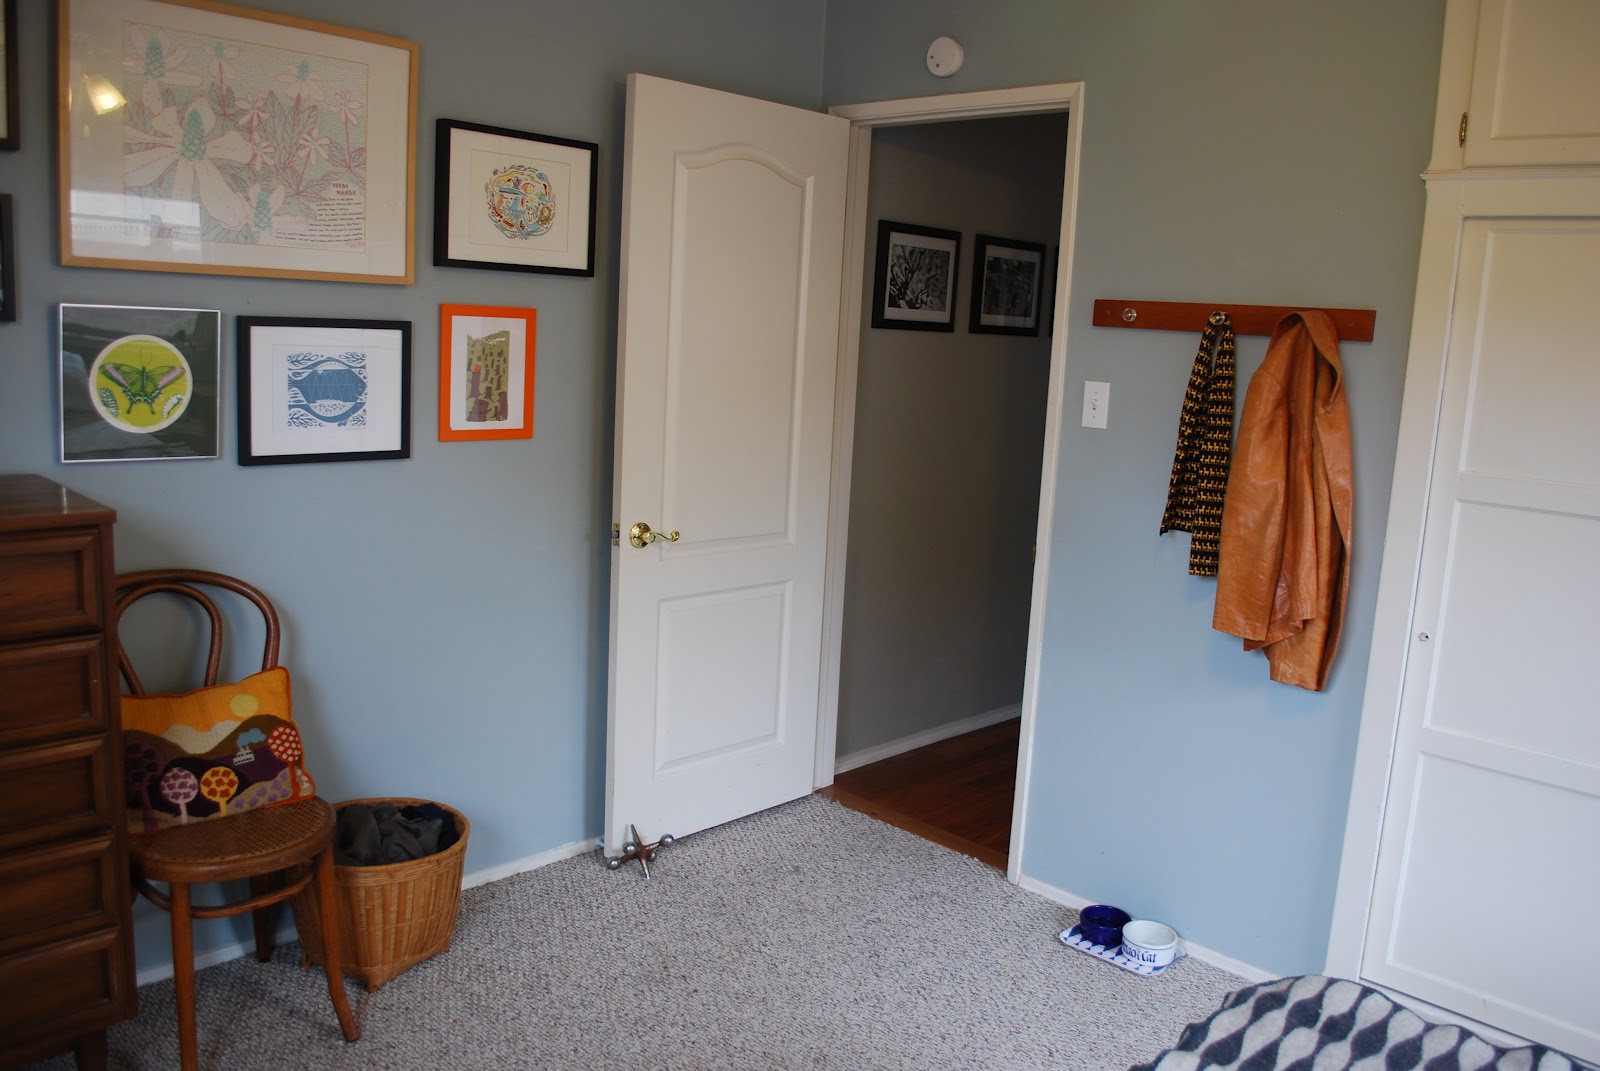
We haven't done much of anything to the master bedroom since about a month after we moved it, but somehow I don't think I ever posted pictures of it.  


The mirror came from an estate sale.  Originally we were going to hang it on the wall horizontally, but it was too big to fit over the dresser.  So we just propped it up against the wall vertically to make an almost full length mirror.


We got the bed frame on craigslist from a mid-century furniture dealer.  It's Danish and from the 70's.  I think we got it for about half of what he normally would charge because it had some scratches on it.  With the attached floating nigh stands it just barely fits in the room.  But I think since it is all one piece the room doesn't look too crowded.


My aunt made the wooden coat rack.  We have another larger one that she made in the entry hall.


We got this dresser for only $5 at a garage sale near our old house.


Thursday, April 19, 2012

Garden Update

Just wanted to post some pictures of the garden since things are looking extra colorful around here.


The iris' are starting to bloom.


The California poppies are going crazy and attracting tons of bees.


The giant nasturtium which is growing in a tiny crack next to the gas meter has completely engulfed a potted jade and has almost covered the water heater enclosure.


Also, the hops vines (actually bines is the proper term) are starting to climb up their ropes. The magnum and nugget are doing the best. The cascade and centennial are doing good too, they just aren't quite tall enough to reach the ropes yet.

Thursday, April 12, 2012

Seder Prep

We are having our Passover seder on Saturday. I know it is supposed to be on one of the first couple of days of Passover, but this weekend is just more convenient. I wanted to get a few things done ahead of time so I'm not overwhelmed on Saturday.


I'm not normally much of a desert maker. I rarely bake, and when we are having people over, I usually count on someone bringing a desert so I don't have to make anything. But, I saw this recipe for chocolate caramel matzoh crunch and it sounded too good not to try. I think I have had something similar with saltine crackers as the base before which was also delicious. I used a little sprinkling of this fancy sea salt made by Jacobsen Salt Co. that my Mom sent us which is actually made from water from Netarts Bay. Netarts Bay is just south of Oceanside, OR where my family has a cabin and where Nate and I got married. It was really easy to make and the combination of caramel and chocolate and salt is insanely delicious.


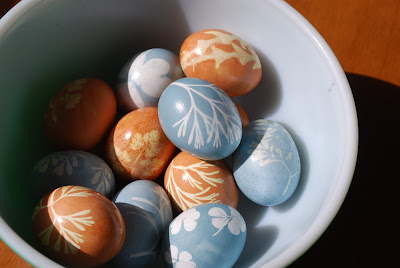
I also dyed eggs for the seder. My mom has been making onion skin Easter eggs since before I was born. Either by just wrapping an egg with onion skins secured with pantyhose and boiling them. Or by making a dye first and creating silhouettes of leaves or flowers by laying them on the egg and again securing them with pantyhose and boiling the eggs in the dye. The eggs wrapped in onion skins version is simpler and I've been doing that myself either for easter or for the eggs for our Passover seders that we have been having for the past few years.

This year I decided to try making blue dye out of red cabbage along with the brown onion skin dye. It turned out pretty good. After the blue eggs were done boiling in the dye I let them sit in the cooled down water for a few hours because the red cabbage dye isn't quite as strong as the onion skin dye. I discovered California poppy leaves make the prettiest silhouettes. I love the way the blue dyed eggs look almost like sun prints.


We finished off the dove rolls that my Mom sends me for Easter every year in record time. For some reason it is so satisfying to rip off and eat their cute little heads. Kind of barbaric, but so tasty.